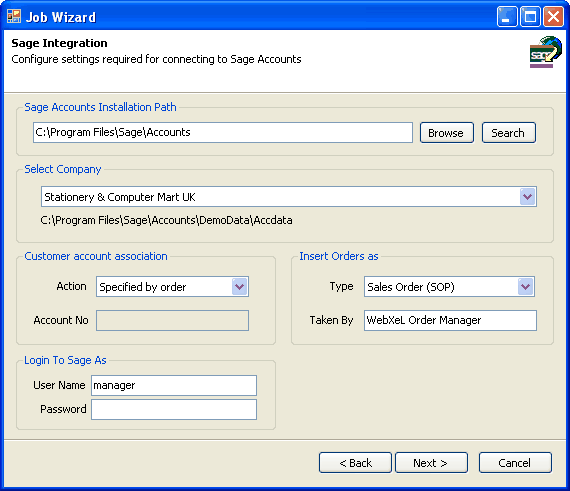
The screen shown in Fig 1 is where you define the options for posting data to a web page.

Fig 1
URL
Provide the full URL to the page you want to post the data to.
Http Post Mode
You can use this to alter how records from the Sage tables are posted to your web page, the choice you make will depend on your chosen server technology and personal preference.
•Post each record individually
Each record will be posted to the server individually, this is the easiest method to set-up on your server as it requires the least amount of server side code and no specialized components are required. This method is the slowest to execute and can take some time when posting a large number of records.
•Post all records in a single HTTP Post
All records are posted to the server in a single HTTP form post, this method is a little more complex to set-up on your server than the post individually option but is much faster to execute, only one request is made to the server as opposed to the multiple requests made using the post individually option.
•Upload XML file containing all records
All records are posted to the server as a single file upload, the uploaded file contains all the exported data in XML format, although this method can be used with any server programming language it is ideal for use with ASP.NET, the XML data can be loaded directly into a .NET DataSet using the LoadXml methods.
•Upload Zipped XML file containing all records
This method is the same as the upload XML option, the only difference is the XML file is zipped to increase the upload time with large amounts of data, the uploaded file needs to be unzipped server side which may require specialized components.
For details on what data is posted for each of these options and the format of the posted data see What Data Is Posted
Time Out
The time out period refers to the length of time the application will wait for a response from your server, for example you may be posting a large XML file containing a large amount of records to your page, after the upload completes your page may be updating a database with those uploaded records and hypothetically takes 50 seconds to complete this and return a response. if the time out is set lower than 50 seconds the application will give up waiting and assume all is well, this is not a huge problem but if the page was to throw an error of some kind after the timeout period has passed the application will not know about the error so neither will you. the time out value of 20 seconds is fine when posting each record individually but may require a higher value when using the other options.
Use Http Error Response
You can configure your page to return error response information back to the application in XML format, see Http Error Response
Display the page after export
Select this to always show the page response in a popup windows after the export is complete, please note: this option does not apply when posting each record individually to avoid swamping your desktop with too many open windows.
Use Compact XML Format
Check this to format the XML in a more compact structure, this is handy when the data is large and file size may be an issue.
Non Compacted XML Example
<STOCK>
<STOCK_CODE>W1</STOCK_CODE>
<DESCRIPTION>Widget1</DESCRIPTION>
<SALES_PRICE>1</SALES_PRICE>
</STOCK>
<STOCK>
<STOCK_CODE>W2</STOCK_CODE>
<DESCRIPTION>Widget2</DESCRIPTION>
<SALES_PRICE>2</SALES_PRICE>
</STOCK>
<STOCK>
<STOCK_CODE>W3</STOCK_CODE>
<DESCRIPTION>Widget3</DESCRIPTION>
<SALES_PRICE>3</SALES_PRICE>
</STOCK>
<STOCK>
<STOCK_CODE>W4</STOCK_CODE>
<DESCRIPTION>Widget4</DESCRIPTION>
<SALES_PRICE>4</SALES_PRICE>
</STOCK>
Compacted XML Example
<STOCK STOCK_CODE="W1" DESCRIPTION="Widget1" SALES_PRICE="1" />
<STOCK STOCK_CODE="W2" DESCRIPTION="Widget2" SALES_PRICE="2" />
<STOCK STOCK_CODE="W3" DESCRIPTION="Widget3" SALES_PRICE="3" />
<STOCK STOCK_CODE="W4" DESCRIPTION="Widget4" SALES_PRICE="4" />
Username & Password
Provide a username and Password for authenticated pages, in addition to the built in server authentication these values are also posted along with your data as form parameters called PageUsername & PagePassword, that way you can also implement security in your own code, this may be useful if no other security is available to you, for example on a shared hosting plan without authentication features.
NTLM Authentication
If your server is configured using NTLM Authentication (Integrated Windows Authentication), check this box.